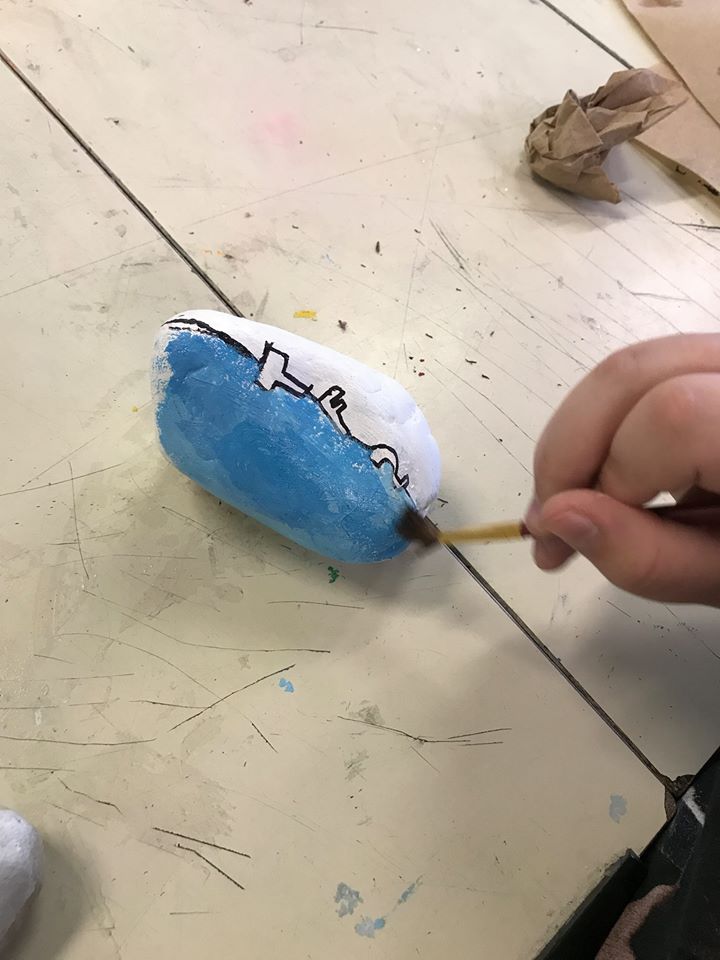
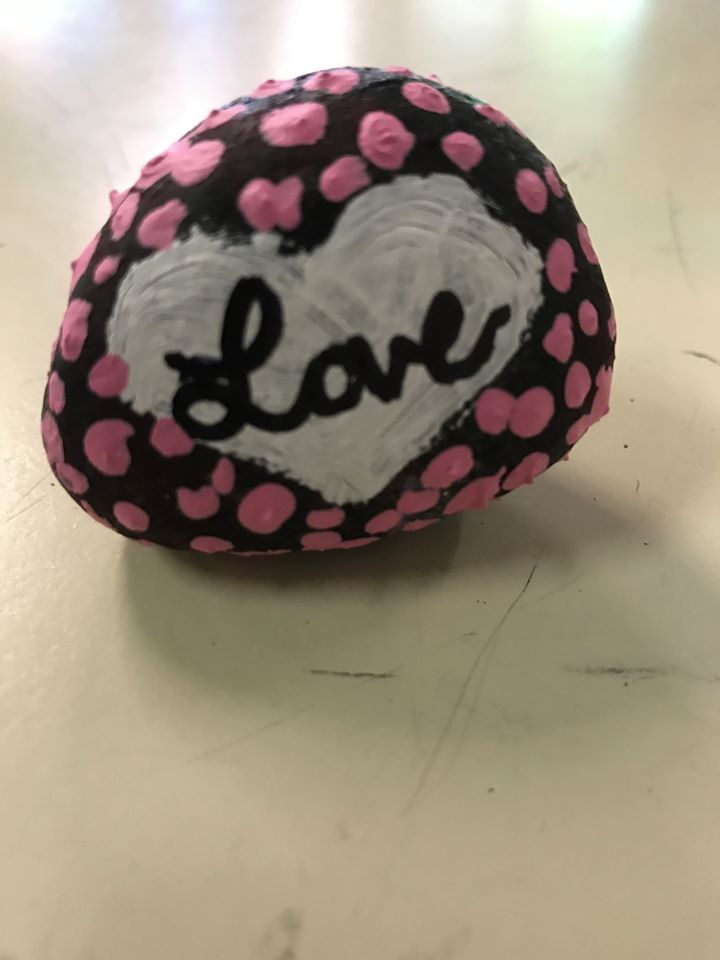
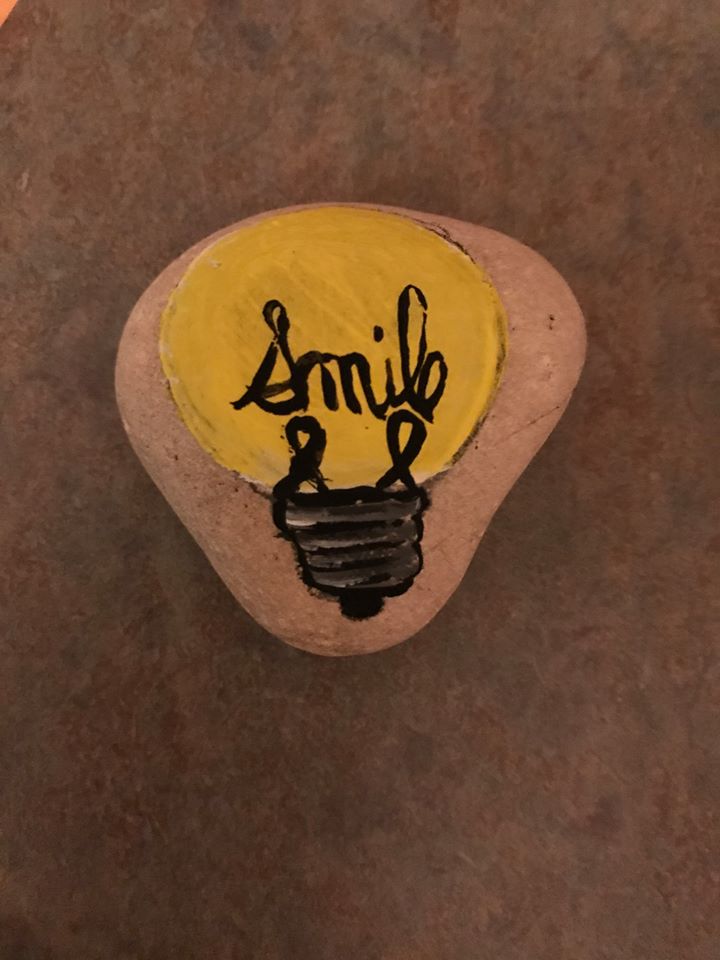
quincy rocks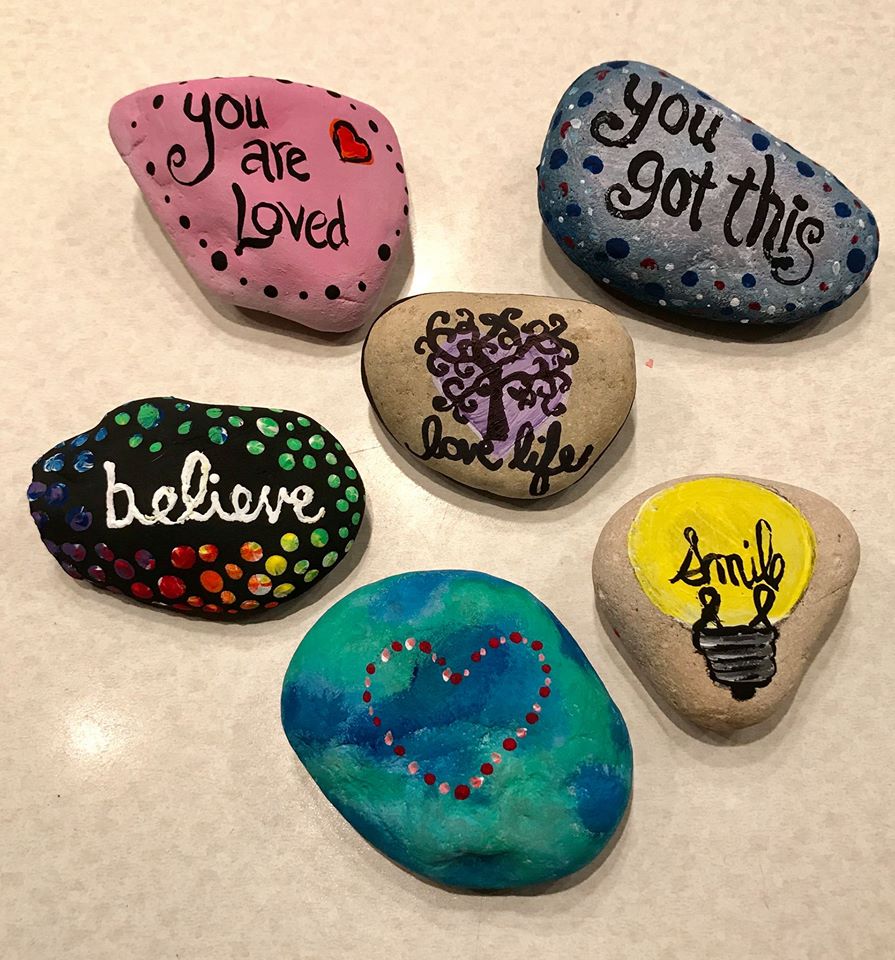
Quincy Rocks is a chance to bring the community together no matter your age. Kindergarten through 5th grade students at Quincy Community Schools are restarting the event. I am asking for you students to paint positive messages on stones with Quincy Rocks painted on the back. The idea is to find a rock hidden in the community and post a selfie with the rock on our Quincy ROCKS facebook page. We are asking the community to paint rocks and hide them within the community or take on their travels and hide them on their journey. This event will work if we all try to add to it by painting and hiding the rocks at places like outside of stores, restaurants, in the park, the school, and so on. The rocks will not have to stay local. People may take a rock to a new location while visiting or traveling. Please take the time to check out the painted rocks. We will restart the event on May 18, 2020
Have fun and let's keep adding painted rocks and posting pictures all summer long. 
SUPPLIES NEEDED:
a rock, acrylic paint, brush, toothpick, and water DIRECTIONS FOR PAINTING ROCK
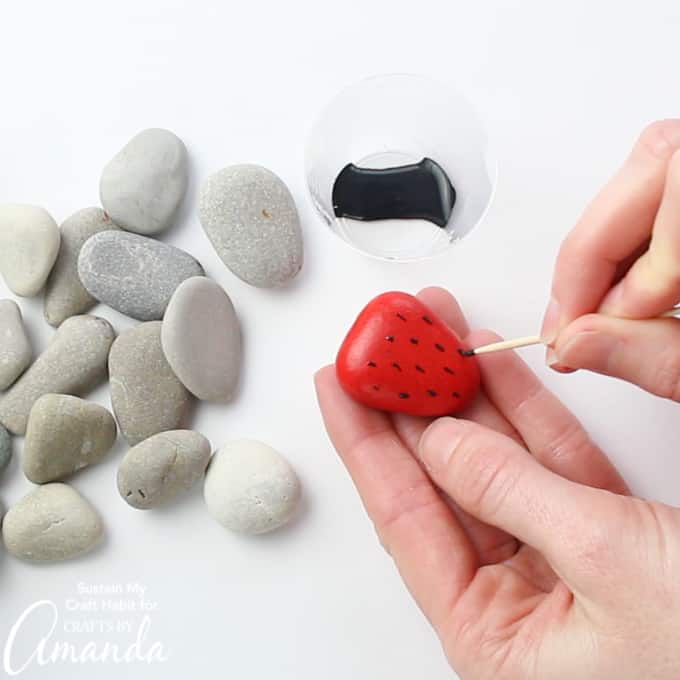
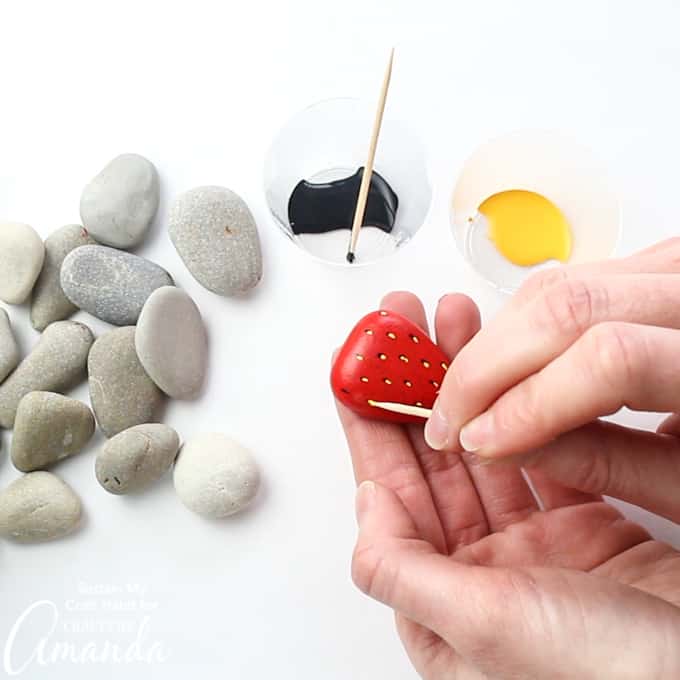
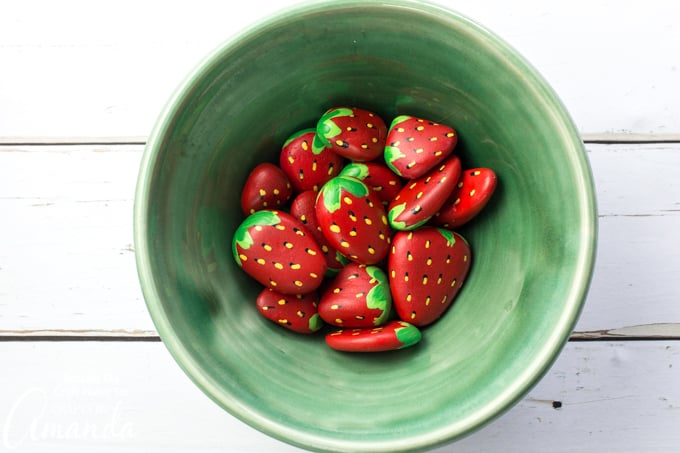
INSTRUCTIONS FOR MAKING STRAWBERRY PAINTED ROCKS:
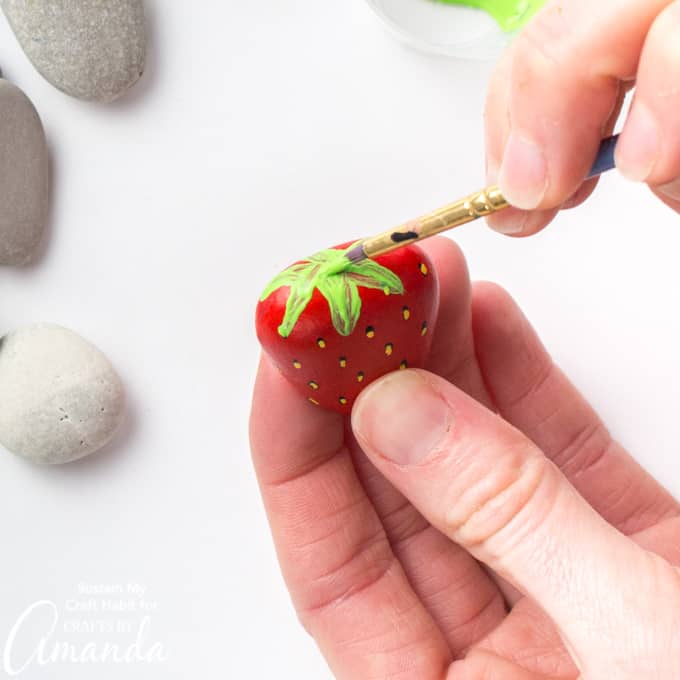
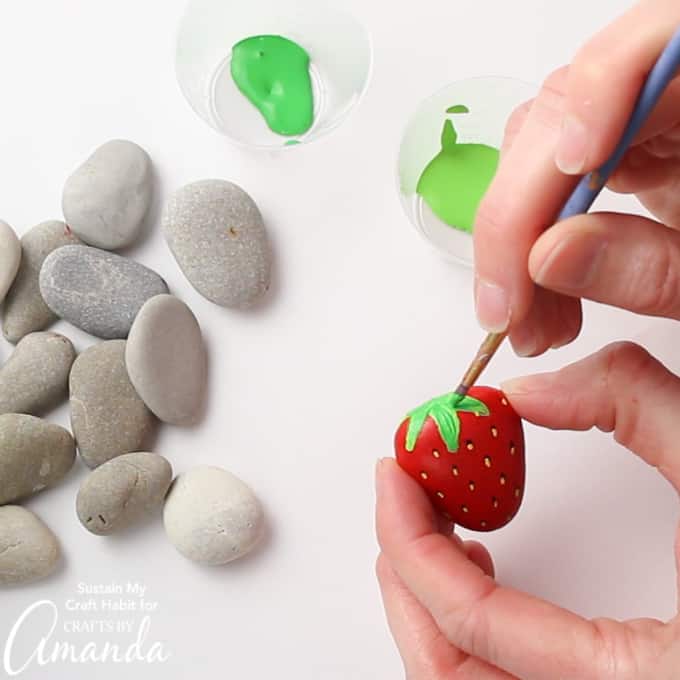
Wash and dry rocks before painting. Lay down a sheet of newspaper or wax paper to protect your surface from paint. Using a flat tip paint brush, paint the entire surface of the rocks in Lipstick red. Leave them to dry and then repeat with another coat for full coverage. Here’s a little tip: it works best to paint one side at a time so the painted side doesn’t stick to your surface. Using a toothpick, dip one end in Black Tie acrylic paint color and add small vertical dashes all over the red painted rock. Continue dipping the end of the toothpick in paint between each dash and be sure to maintain the same direction of the dashes on both sides. Leave to dry. Follow up with the tooth pick dipped in School Bus yellow acrylic paint color over top of all the black dashes. Leave to dry. Using a fine tip paint brush, dip your brush in Apple Green acrylic paint and paint the foliage to each strawberry. It’s a little like giving each strawberry a little hairstyle with bangs…so much fun! It works best to paint one side at a time so the painted side doesn’t stick to your surface. Leave them to dry and then repeat with another coat if needed. And lastly, dip your fine tip paint brush in Turf Green and paint another shade of green over parts of the Apple Green foliage. Leave to dry before using your strawberry rocks. 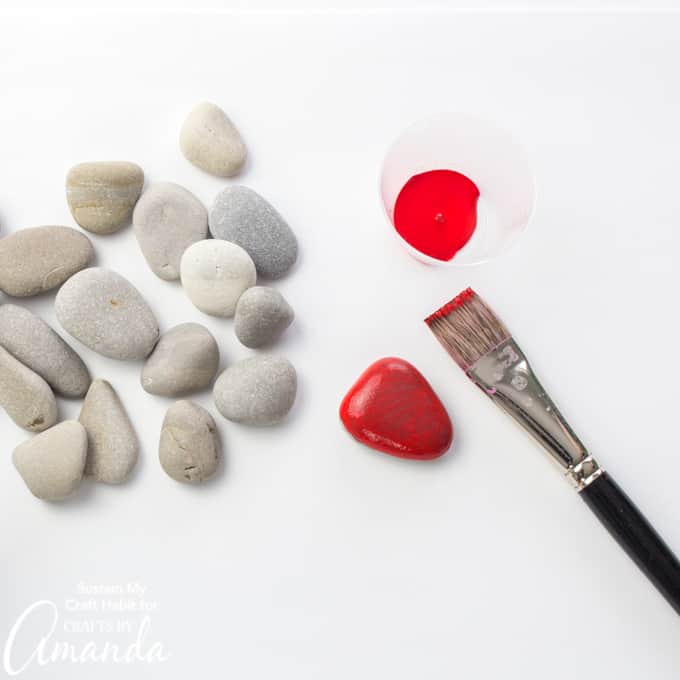
|
STEP BY STEP DRAWING OF BIRDS AND FLOWERS WITH MRS. BRINER
CLICK THE BUTTON FOR YOUTUBE DEMONSTRATION
SUPPLIES NEEDED: drawing paper and a drawing utensil (pencil, sharpie) markers, paint brush, water
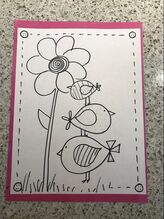
Step by step bird drawing. Kindergarten draw only the flower, 1st grade draw the flower and a bird,
2nd grade draw the flower and more birds.
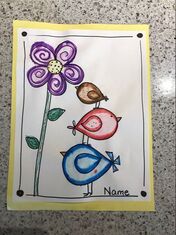
I outlined each object in a different colored marker using the wide edge of the tip. I then used a paint brush, or a q-tip, applying water dragging the color inwards.
|
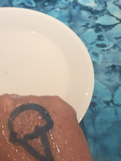
Dry erase marker artCLICK THE BUTTON FOR YOUTUBE DEMONSTRATION
SUPPLIES NEEDED: dry erase marker, smooth surface (glass plate), water and paper towel
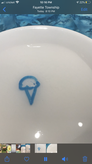
My dry erase marker art is floating in one piece on top of the water. You could take your finger and push it around the dish and watch it move in a funny way.
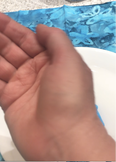
Turn hand over so you can put the back of your hand onto the floating drawing.
Gently place your hand on your artwork now pull your hand slowly away from the water. You are wearing your art on the back of your hand.
|
ALL OF THESE ART PROJECTS ARE GREAT TO CREATE WITH ANOTHER FAMILY MEMBER.
